


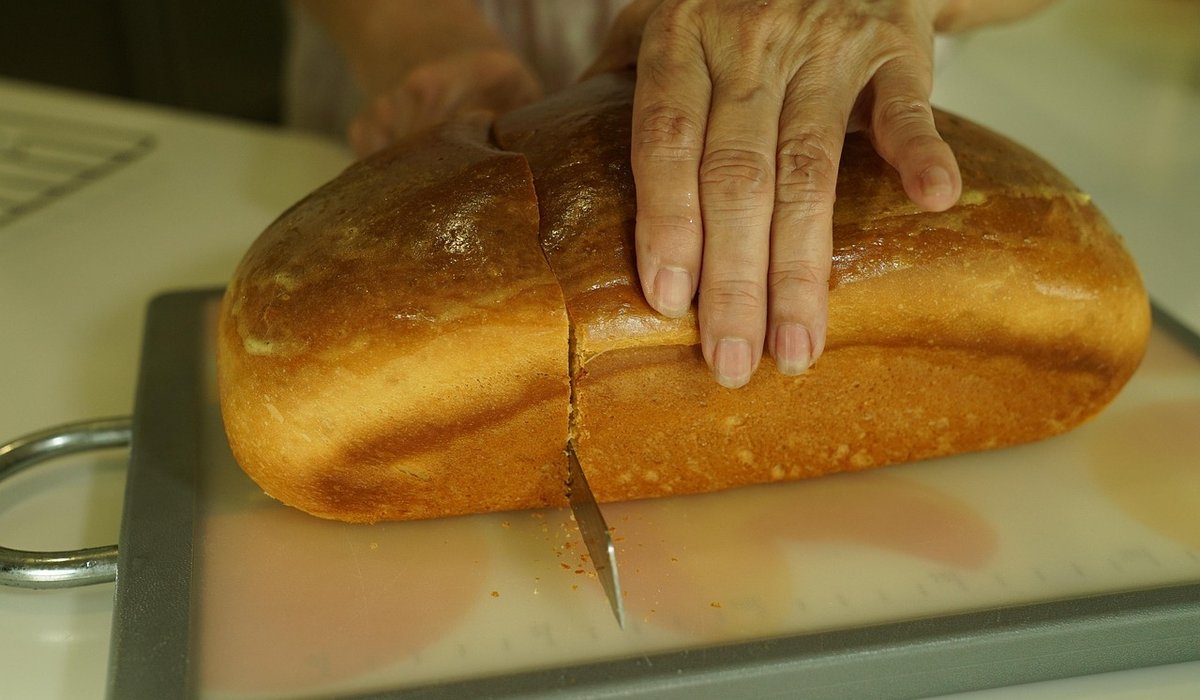
Why a Plain White Loaf Deserves Your Attention
A crusty white loaf is the most forgiving thing you can bake, and the most rewarding. It costs pennies, needs no special equipment beyond an oven and a pair of hands, and it fills a kitchen with a smell that no candle has ever managed to copy. There is something quietly satisfying about pulling a golden, crackling loaf from the oven on a grey afternoon, when the wind is rattling the windows and the light is going early. The French call that crackling sound the crust singing, and it is worth baking a loaf just to hear it. Once you understand what yeast, warmth and kneading are actually doing, you can bake this loaf again and again without a recipe in front of you.
Four Ingredients, and What Each One Does
Start with a simple, reliable formula. For one good-sized loaf you will need:
- 500g strong white bread flour — the "strong" matters. It contains more protein than plain flour, and protein is what becomes gluten.
- 7g dried yeast (or 15g fresh yeast) — the living engine of the loaf.
- 10g fine salt — never skip it. Salt slows the yeast slightly and, more importantly, tightens the gluten and gives the bread its flavour.
- 320ml warm water — blood warm, around 30–35°C. If you can dip a finger in and feel nothing much either way, it is right.
That is it. A teaspoon of sugar or a knob of butter will give you a softer crumb, but the basic four will already make a beautiful loaf. If you live by the coast and the air is damp, you may find you need a splash less water; if your kitchen is dry and centrally heated, a splash more.
Warmth Is Your Friend — But Not Too Much
Yeast is a living thing, and it has opinions about temperature. Below about 20°C it works slowly and sulkily; above 40°C it starts to die, which is why you should never use water straight from a hot tap. Between 25°C and 28°C it is happiest, doubling a dough in roughly an hour to ninety minutes. A draughty windowsill in February is not the place to prove bread. Airing cupboards are often too hot, so try the top of a fridge, a shelf near (not on) a radiator, or simply the warmest corner of the kitchen.
Mix the flour, yeast and salt together first — keep the salt and yeast apart until the flour separates them, as neat salt can inhibit the yeast. Add the water, stir with a wooden spoon or your hand until it comes together into a shaggy, sticky mass, then tip it onto a lightly floured worktop.
Kneading: Reading the Dough, Not the Clock
Recipes say ten minutes, but your hands are the better judge. Push the dough away from you with the heel of your palm, fold it back over itself, give it a quarter turn, and repeat. It will be a sticky, unpromising mess for the first three or four minutes. Then something changes. The surface smooths, the dough stops clinging to your fingers, and it begins to feel like warm plasticine.
The test is the windowpane: pull off a small piece and stretch it gently between your fingers. If it tears into a ragged hole, keep kneading. If it stretches thin enough to let light through without breaking, the gluten is developed and you are done. Ten to twelve minutes by hand is typical; a stand mixer with a dough hook will do it in five or six.
Shaping, Proving and the Confidence to Slash
Cover the bowl with a damp tea towel and leave the dough to rise until it has roughly doubled — an hour to ninety minutes in a warm kitchen. Knock it back with your knuckles to push out the big air bubbles, then shape it. For a round cob, pull the edges into the centre, turn the dough over and cup your hands around it, dragging it across the worktop to build tension on the top. For an oval bloomer, roll it gently and pinch the seam firmly shut.
Place it seam-side down on a floured baking tray or in a proving basket, cover, and leave it for a second, shorter rise of 45 minutes to an hour. It is ready when a light poke with a floury finger springs back slowly, leaving a faint dent. Just before baking, dust the top with flour and cut two or three confident, shallow slashes across it with a sharp knife. Hesitant slashes look nervous; decisive ones look like a proper loaf, and they let the bread expand instead of splitting at the side.
Into the Oven: Steam, Heat and a Golden Crust
Heat the oven to 230°C (210°C fan) with a baking tray or a small roasting tin on the shelf below. When the loaf goes in, pour a cup of water into that hot tin — the burst of steam keeps the crust soft for the first ten minutes, allowing the bread to rise fully before it sets. After 15 minutes, turn the heat down to 200°C (180°C fan) and bake for a further 20–25 minutes.
The loaf is done when it is deep golden, sounds hollow when tapped on the base, and a skewer pushed into the middle comes out clean. Cool it on a wire rack — the hardest part of the whole process. Cut it while it is still faintly warm, spread it thickly with salted butter, and eat it with something honest: a bowl of soup, a wedge of cheese, or a handful of picked crab if you have been down to the coast. Bread like this does not need anything clever on it. It just needs to be eaten the day it is made, preferably by people who watched it come out of the oven.


Leave a reply